Are you tired of looking at the same old wood furniture in your home? Maybe you inherited a piece from a family member or found a hidden gem at a thrift store, but it just doesn’t match your current décor.
Don’t despair! With a little bit of creativity and some elbow grease, you can turn your old wood furniture into new treasures through DIY painting. [You can also read our Old Furniture Makeover Ideas]
In this post, we’ll guide you through the process of transforming your old wood furniture with DIY painting. From selecting the right type of paint to properly prepping your furniture, we’ve got you covered.
So, let’s get started!
Why Choose DIY Painting for Your Wood Furniture?
DIY painting wood furniture is an affordable and sustainable way to update your home décor. Instead of buying new furniture, you can breathe new life into your existing pieces with a fresh coat of paint. Not only is it better for the environment, but it’s also easier on your wallet.
According to a recent survey, over 60% of Americans prefer to DIY their home improvement projects. Painting wood furniture is no exception. With the right tools and techniques, anyone can achieve professional-looking results without breaking the bank.
Choosing the Right Type of Paint for Your DIY Project
The first step in any DIY painting project is choosing the right type of paint. When it comes to painting wood furniture, there are several options to consider. One of the most popular choices is chalk paint. Chalk paint has a matte finish and requires little to no prep work, making it an excellent option for beginners.
Another option is milk paint, which has been used for centuries and is made from natural ingredients such as milk protein, limestone, and clay. Milk paint creates a rustic, vintage look and is also eco-friendly.
Prepping Your Wood Furniture for Painting
Before you start painting, it’s important to properly prep your furniture to ensure the paint adheres properly and the final product looks great. Begin by cleaning the furniture with a damp cloth to remove any dirt or debris. If the piece has any dents or scratches, use wood filler to fill them in.
Next, sand the entire piece of furniture to create a rough surface for the paint to stick to. Wipe the piece down with a tack cloth to remove any dust and debris from sanding.
Painting Your Wood Furniture
Now comes the fun part: painting your wood furniture! Before you begin, make sure you have all the necessary supplies, including paint, brushes, and a drop cloth to protect your work surface.
Start by applying a coat of primer to the entire piece of furniture. This will help the paint adhere and prevent any stains or wood grain from showing through. Once the primer is dry, apply the first coat of paint. Be sure to paint in the direction of the wood grain and use light, even strokes.
Allow the first coat of paint to dry completely before applying a second coat. Depending on the type of paint you’re using, you may need to apply a third or even fourth coat for full coverage.
Finishing Touches
Once your final coat of paint is dry, it’s time for the finishing touches. You can add a layer of wax or sealant to protect the paint and give your furniture a polished look. You can also add new hardware, such as knobs or handles, to give your piece a fresh, updated look.
Conclusion
DIY painting your wood furniture can be a fun and rewarding DIY project that transforms old, worn-out pieces into new treasures. With the right tools, techniques, and a bit of creativity, you can achieve a professional-looking finish and add a unique touch to your home decor.
Remember to take the necessary precautions and prepare your workspace properly to ensure a safe and successful painting experience. So, grab your paintbrushes and get ready to give your furniture a new lease on life with DIY painting!
-
Product on sale
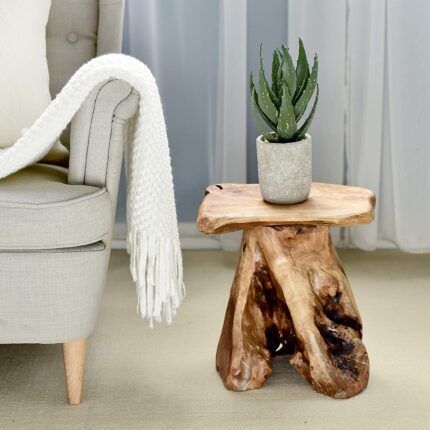
 14″ Tall Tree Stump Stool Side Table NightstandOriginal price was: $258.54.$104.99Current price is: $104.99.
Save $153.55 (59%)
-
Product on sale
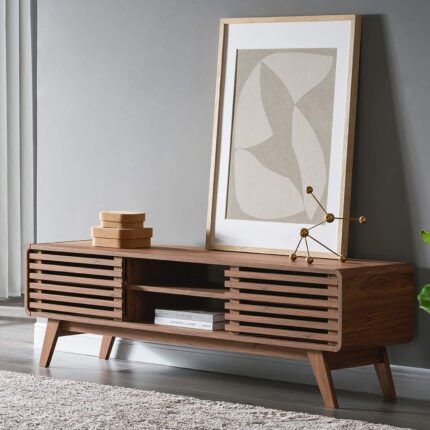
 59″ Mid-Century Modern Tv Stand for 55/60 inch TVOriginal price was: $718.27.$278.60Current price is: $278.60.
Save $439.67 (61%)